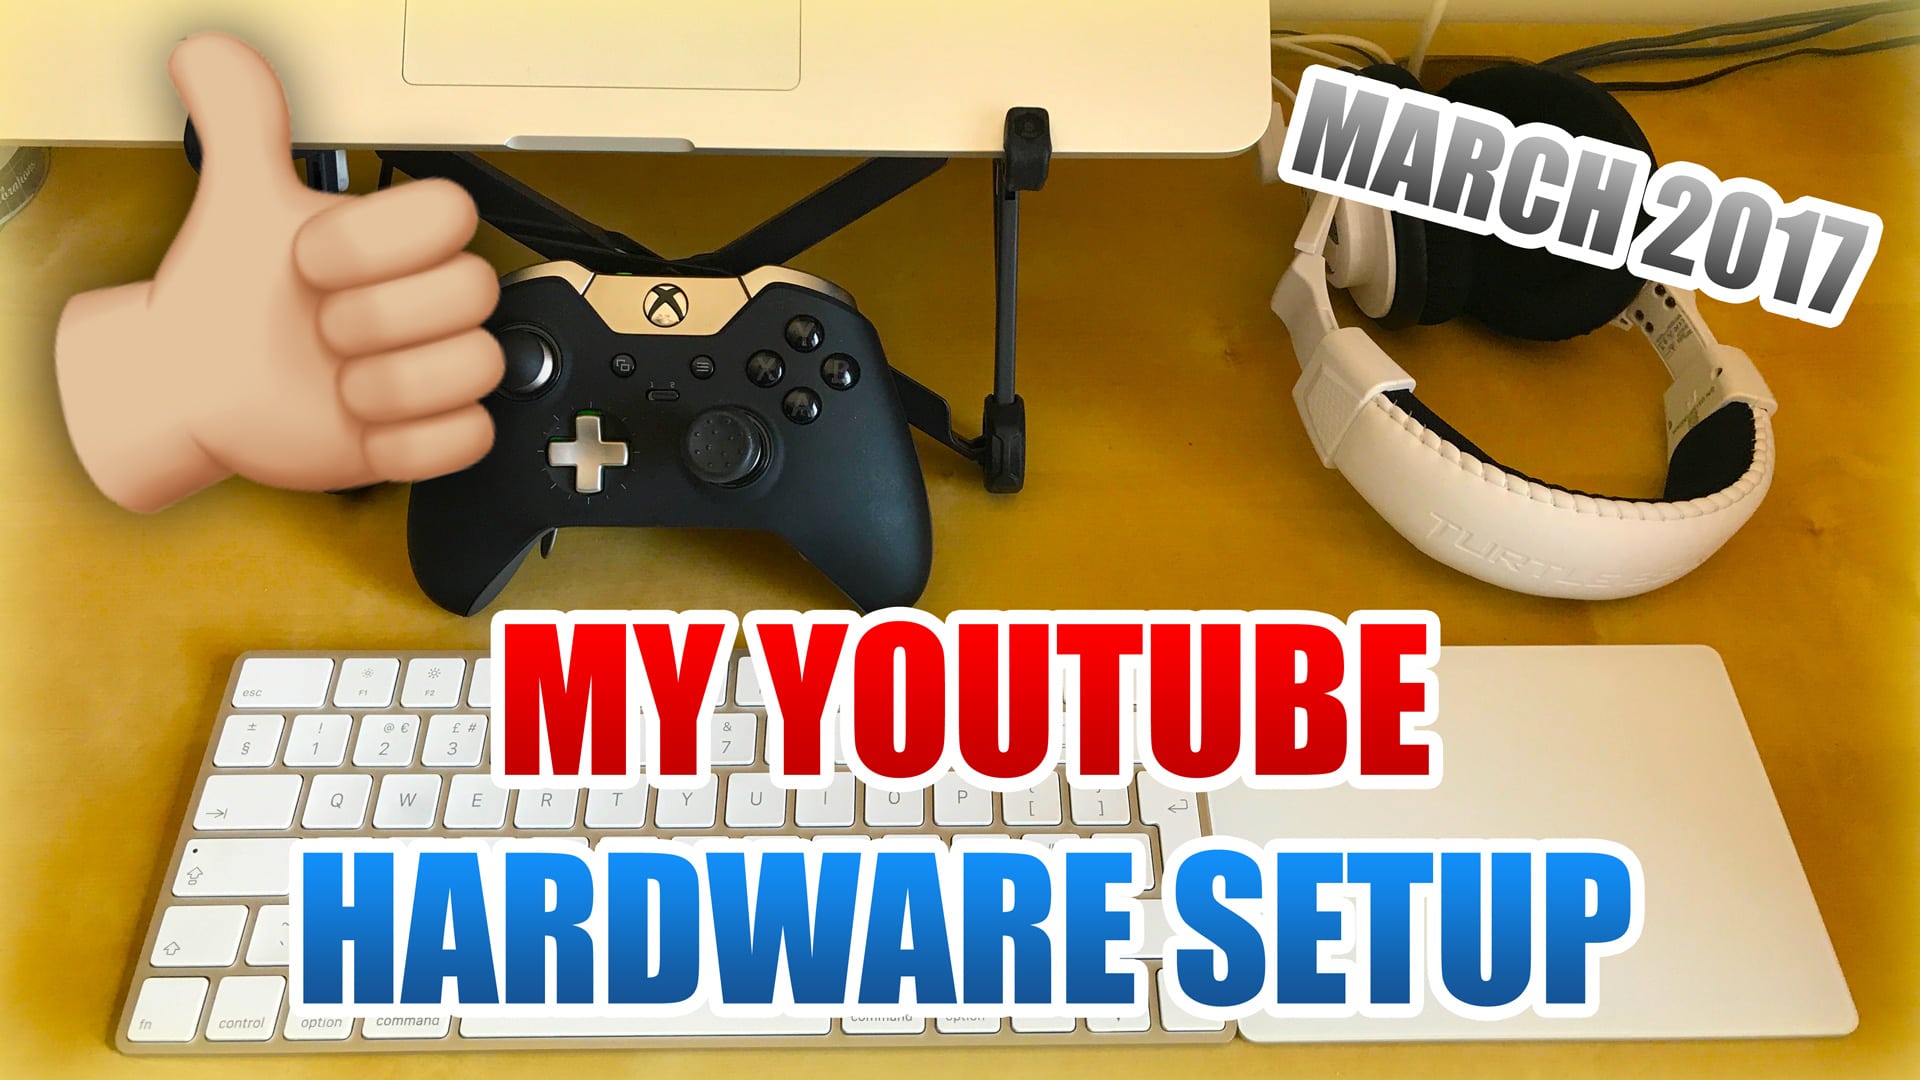
I’m going to take you through my hardware setup for what I’m using to create and edit my YouTube videos, and what I’m using to game with, so you can compare how I do things.
This is my first hardware setup post – in March 2017, for reference – and I’ll do others as my setup evolves, in addition to unboxing and reviews of any hardware I get, which I’ll post as they happen.
I’ve included links to all the hardware below.
Let’s jump in…
For gaming
If you’re itching to find out what I use for YouTube, you can scroll down to the YouTube section! But why have I put this section first? It all starts (for me) with playing and recording the game. So really we need to begin here.
Game disc
Seriously? But this is software. Yes! The game itself – currently I’m only playing and recording Ghost Recon: Wildlands, but the game I bought on disc, rather than as a digital download, so this counts as hardware!
Why did I get the game on disc? As it turns out, there are loads of reasons.
After that though, I’m pretty sure digital downloads only have downsides. They tend to cost more – for some reason – than buying a game on disc. Even though the cost to distribute games over the internet is considerably less than manufacturing discs, manuals and cases, packaging and distributing those to resellers and retailers all over the world at wholesale prices. Digital downloads should be cheaper.

Do you guys have any good reasons why digital downloads are better than discs? Or why they should be worth paying more for? Please convince me know by leaving a comment below.
Game on disc:
- Ghost Recon: Wildlands (PC) – US* / UK*
- Ghost Recon: Wildlands (Xbox One) – US* / UK*
- Ghost Recon: Wildlands (PS4) – US* / UK*
Here’s my unboxing of the Xbox One Gold Edition of the game:
Console
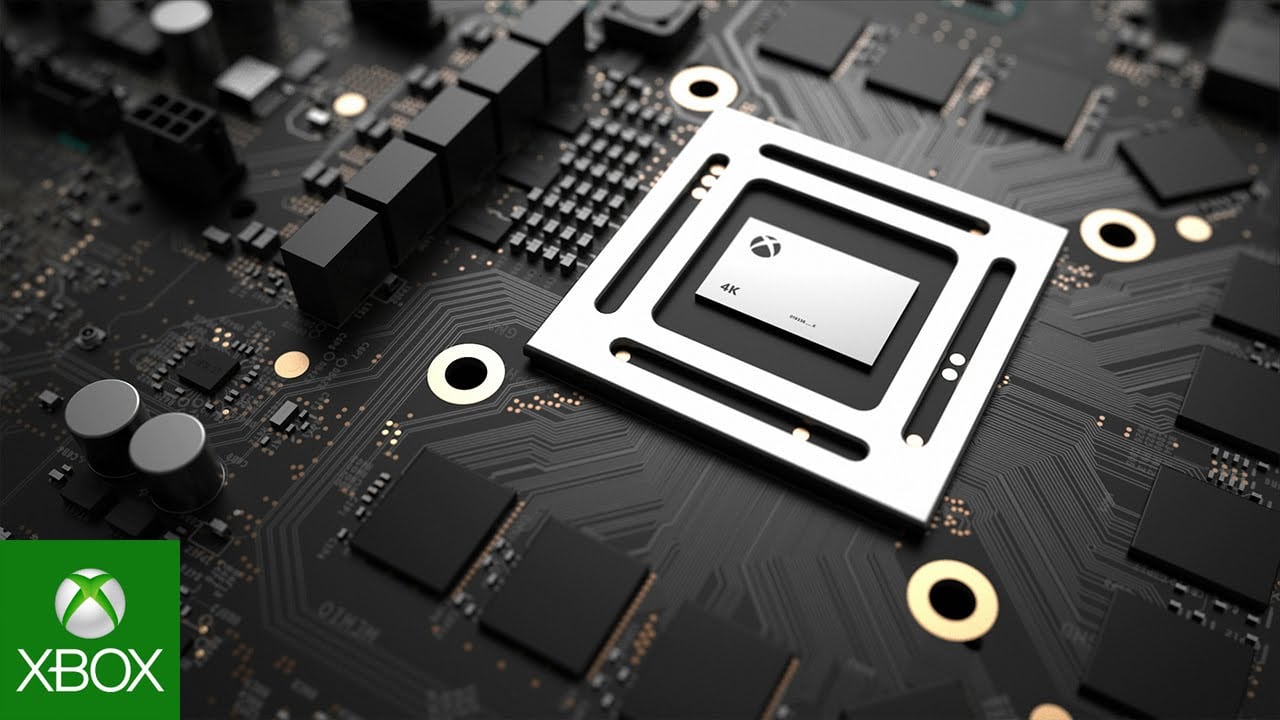
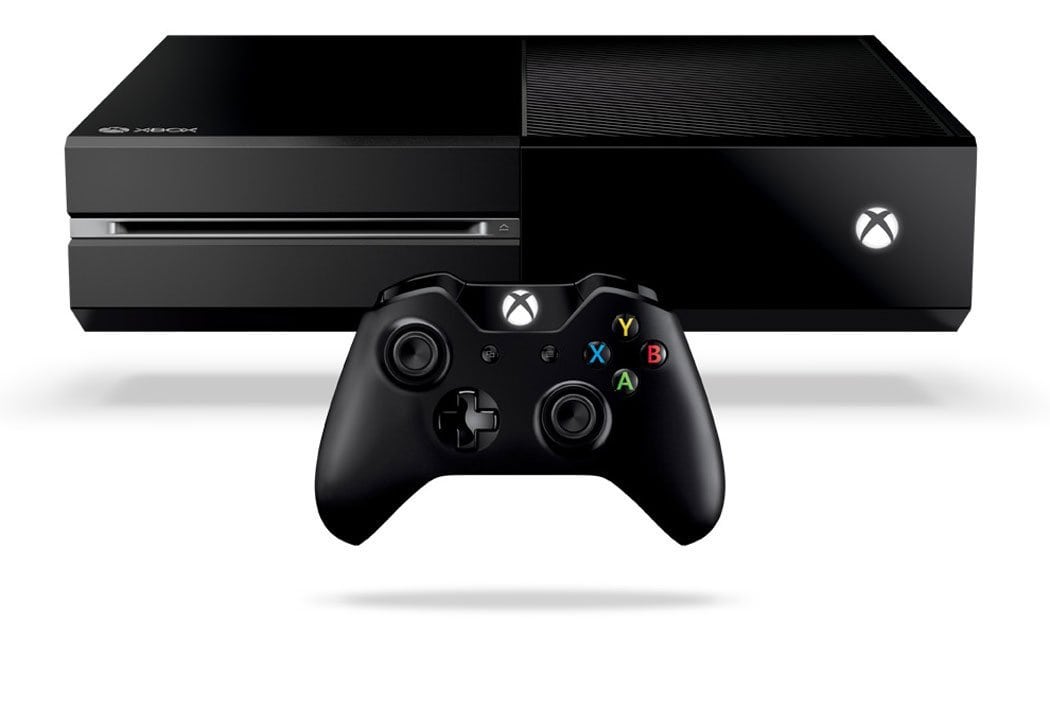
There’s nothing really exciting here, but I play all my games on an Xbox One – just the regular console – not an Xbox One S. I’m going to wait to buy Project Scorpio when that’s available later this year as a proper upgrade.
If you’re not aware of what Project Scorpio is, it’s Microsoft’s next Xbox console, due out before Christmas 2017 which will support true 4K gaming and VR. So it’ll be a beast of a console, and it’s going to be backwards compatible with all existing Xbox One games and peripherals!
Also because when I mainly played Call of Duty, the Xbox would get the DLC early, but this ended after Call of Duty Advanced Warfare where the deal moved from Microsoft to Sony for the PlayStation. Really though, I much prefer the Xbox controller than the PS4 controller. I have large hands, and I’ve never got on with a PlayStation controller for any of their consoles.
Controller
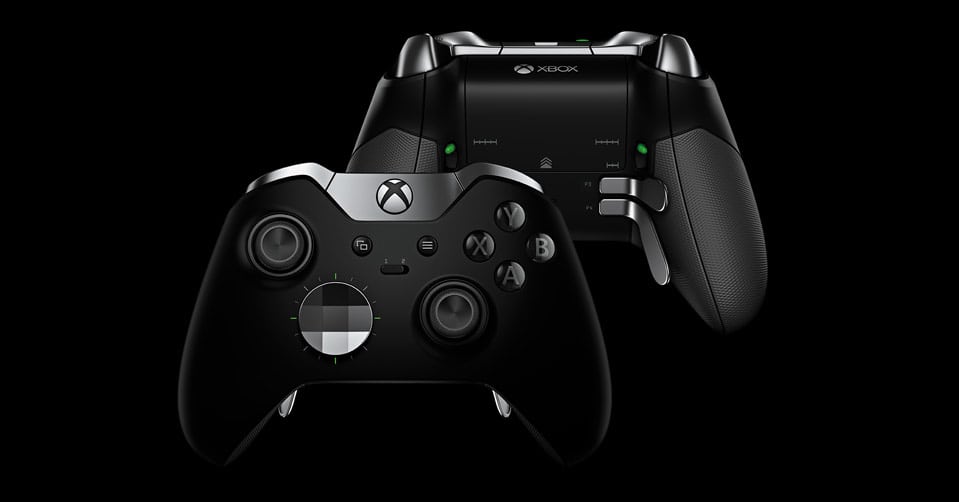
This controller is amazing! I’ve had a few Scuf controllers in the past, but they didn’t compare at all to the quality or value for money of the official Xbox One Elite controller. If you’ve never bought a ‘pro’ or ‘modded’ controller before and thought “what’s the point?” then that’s a fair question, especially when these things cost £100/$150+ 😱
Because I used to play a lot of Call of Duty, I used the additional paddle buttons on the back of the controller to jump and melee without taking my fingers off the right-analogue stick to press the A or B buttons on the front of the regular controller. Once you get used to these buttons, it definitely improves your gameplay.
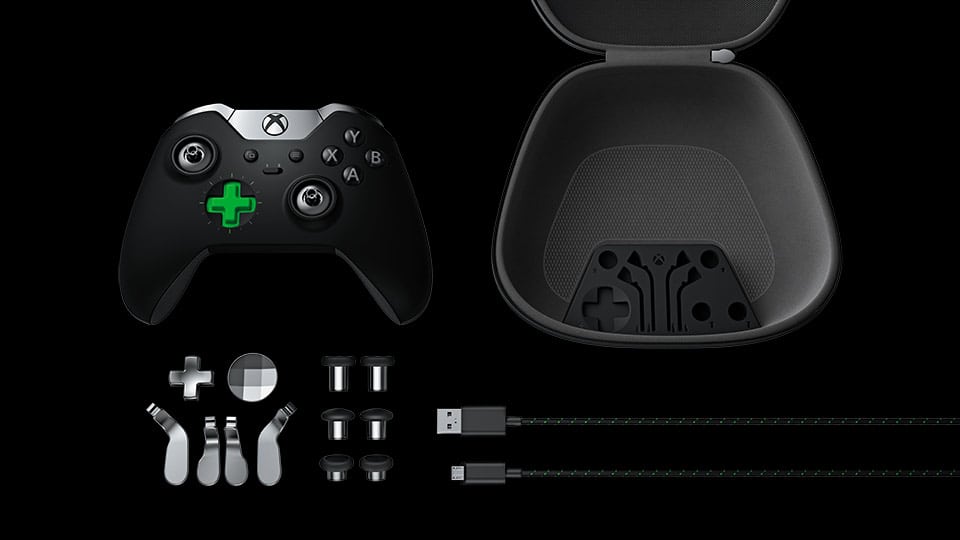
- It gives you so much. You get:
- trigger stops
- a choice of concave and convex thumb sticks
- short and tall thumb sticks
- four removable paddle buttons
- re-mappable buttons
- textured grips
- braided USB cable
- and a carry case for the controller and all its swappable accessories.
- Value for money. You can get all this with a Scuf controller, but by the time you spec up your Scuf to this level, you’re paying more money for the same benefits.
But with a (standard) Scuf, based on a standard Xbox One controller, you don’t get the same build quality. As a bonus, the Elite controller has metal paddles on the back, metal analogue sticks, and the removable components are magnetised to be conveniently swapped out with no tools in seconds! You can even swap the d-pad for an octagonal dish.
Additionally, the Elite controller also has two setup profiles which can be changed using a switch on the front, so I still have profile 1 setup for Call of Duty, and profile 2 for playing Wildlands.
With Ghost Recon: Wildlands, there’s one caveat. With the Elite controller, you can configure the analogue stick and trigger inputs for different acceleration profile curves. Some players have reported that the vehicles in the game drive slowly, and one fix for players with Elite controllers is to ensure a straight profile using the Accessory app on the Xbox. And switch off the trigger stops.
Controller:
Thumb sticks
Also from my CoD days, I use some KontrolFreeks on my right analogue stick – in addition to the high-rise stick with the Elite controller, so I have an analogue stick that’s about an inch (2.5 cm) high.
What’s a KontrolFreek? They’re small height extenders that fit onto your controller’s analogue stick to give it extra height for greater precision. They’re cheap and just snap on and off without damaging your controller. Purchased in pairs, there are many variations in height, shape and colour – you may need to try a few to find ones you like (and watch some reviews).
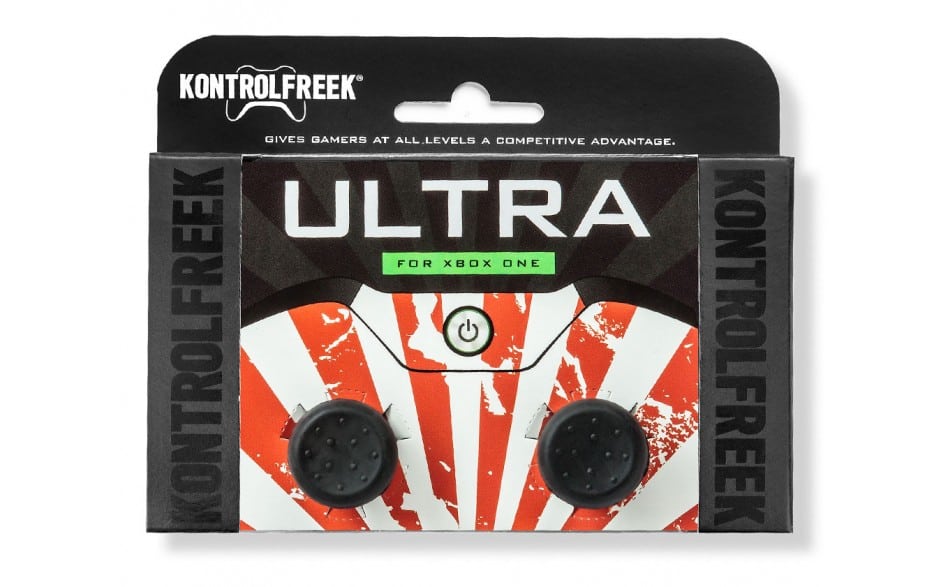
Apart from being great value for money already, because they’re sold in pairs, if you only use them on one of your sticks – like me – then you have a spare if one breaks or wears out. But I haven’t had any break or wear out in the few years I’ve been using them.
If you do play FPS games on a console and want more accuracy at higher input sensitivities, KontrolFreeks are the first thing you should buy because there’s no better return for your money. They cost under £15/$20, so they’re well worth having!
The ones I use are the KontrolFreek Ultra, which is a long concave model, but many different styles, colours, lengths and grip patterns are available.
KontrolFreeks:
Tablet
For the Ghost Recon HQ companion app (full review here) I like to have my iPad handy to use the map. The app is a free download for Android and iOS and works for phones and tablets, so you could do this with a phone if you don’t have a tablet handy.
But using am iPad (or any tablet) is better than a phone because it has a larger screen and a larger battery. The larger screen is much easier to pan and zoom around than a smartphone screen while you’re in the middle of the action. And the larger battery lasts for hours of gameplay – but if you can plug in a phone or tablet while you play, then that’s not an issue.
The in-game map in the companion app is so useful. After you sync the app with your game (for PC, Xbox One or PS4) you just open the map in the app. You may need to move your character before they show on the app map, but the second device means you don’t need to step out of the action to see what’s around you on the map, and it provides you with much more coverage than your mini-map.
While you can’t use it to set waypoints like in the game, it does show you the position of any tagged enemies and other things around you. But best of all it shows you the direction tagged enemies are facing – which you don’t get in the game!
I wouldn’t say it’s worth buying a tablet solely for this purpose, but whether you have one already or you feel like an upgrade, I’ve included links below.
Tablets:
For YouTube
Now we’ve got the gameplay out of the way, what does it take to get this all on YouTube? Well, in some order of use, I suppose…
Gameplay capture
For this task I bought an Elgato Game Capture HD 60 S. I still plan to do a full review of this device – and when I do I’ll update this post – but for now let me just say I needed a way to get my Xbox One gameplay into my computer, and as I have a laptop I don’t have anywhere for an internal capture card.
The Elgato Game Capture devices have a great reputation and are used by many YouTube gaming legends, so this seemed like the right product to get. While – at the time of publishing this post – I don’t livestream my gameplay, I spent the extra on the ‘S’ version of the device which supports streaming to cover my bases, as this makes it simple if I choose to do so.
Elgato capture devices:
Here’s my Elgato Game Capture HD 60 S unboxing video:
Unboxing camera
For my first unboxing video of the Elgato above, I used my iPhone 7, but that’s not ideal. And I already have a DSLR camera I could use which shoots much better video.
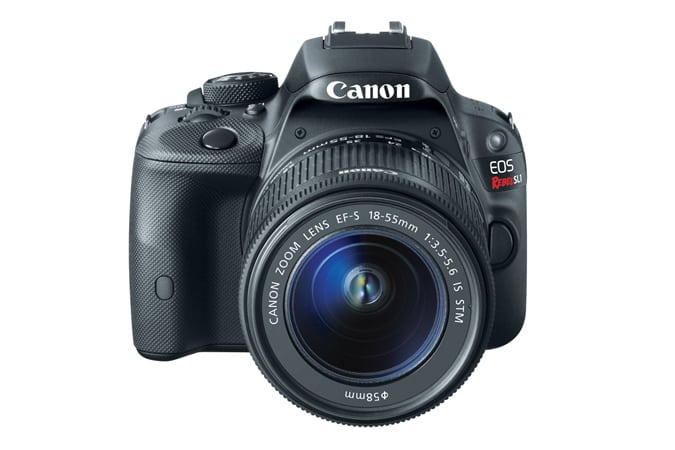
The DSLR is a Canon EOS 100D (or Rebel SL1 in the USA) which I used for the Ghost Recon: Wildlands unboxing video, but you can hear the lens autofocusing all the time, so I think I need to change it to manual focus and just fix the focal distance to prevent that sound until I get a more appropriate camera for shooting unboxing videos.
However, it could be the lens itself. I don’t use the camera with a Canon lens because I only have the (incredible) Tamron 18-270 mm lens with image stabilisation which is amazing for photos. But it’s got a noisy autofocus, and I wonder if a Canon lens would fix the issue. But this’ll do for now!
Computer
Fortunately, I haven’t had to buy a computer as I already have a 2013 15-inch MacBook Pro with Retina Display which is a fantastic laptop. Apple laptops are not upgradeable internally, but I’ve never really considered laptops to be upgradeable in the same way that desktop computers are anyway, so I won’t lose any sleep over it. It’s the price you pay for a slim, light powerhouse.
I know some of you guys like to geek out over specs, so here they are:
- MacBook Pro (Retina, 15-inch, Late 2013)
- Display resolution 2880 x 1800 15.4″
- 2.3 GHz Intel Core i7-4850HQ “Haswell”
- 16 GB PC3-12800 1600 MHz DDR3L
- 500 GB flash storage
- NVIDIA GeForce GT 750M 2048 MB and Intel Iris Pro 1536 MB (shared)
- macOS Sierra 10.12.3
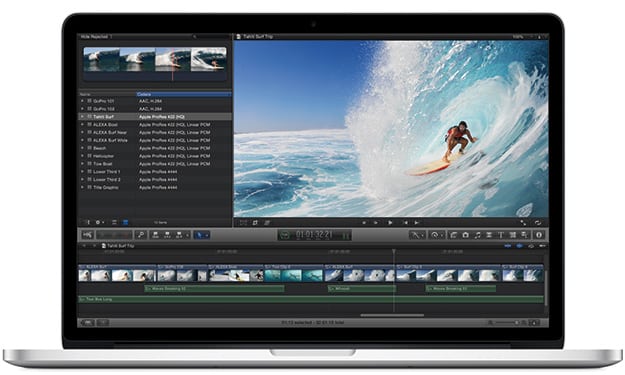
But generally it’s a fantastic machine. The build quality is amazing, it sleeps and wakes instantly and seemlessly, runs silently and is very portable when I need to take it somewhere.
I converted from Windows a few years ago and I really do like macOS and the Mac-specific apps I can run, like Final Cut Pro. I’d happily have another Mac!
This raises the laptop up so the top of the screen is at my eye level. It’s height adjustable, a very, very clever piece of engineering, and packs down to almost nothing to transport with you.
It comes with a nice little draw string carry bag as well, but this thing is NOT cheap at about $75. There are cheaper knock-off copies available, but this has been so well designed, I’d definitely recommend it if you need something to raise your laptop and can afford it. Check out the Roost website to find out more.
Computer:
Headset
Because I also already had a headset, I haven’t needed to buy this specifically for YouTube, but I think this is something I may upgrade in the future.
I use a Turtle Beach PX22 headset, which was a relatively cheap option when I bought it (under £50/$65 I think) and was originally just to use for daily phone calls via my iPhone so I could keep my hands free. It serves a purpose for now.
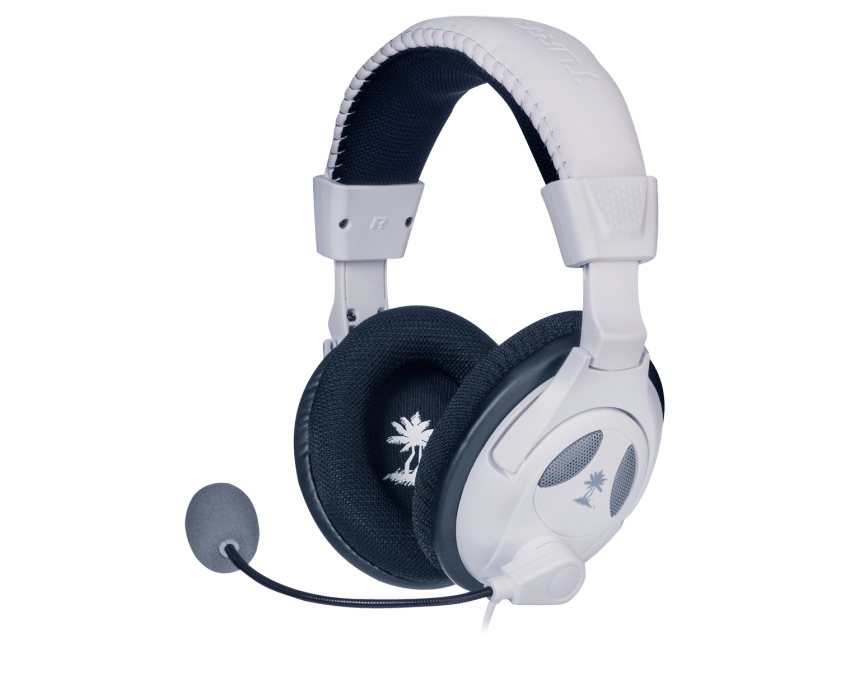
For YouTube, using a headset isn’t strictly necessary, but it works well for me because the built-in microphone on the headset lets me record live commentaries as I go.
However this isn’t a particularly good headset. I don’t think the microphone sounds great, and the ear cups aren’t deep enough so they touch my ears and make them hurt after more than about 1-2 hours of use. You get what you pay for though, and this is a budget headset that gets bonus point for working with a phone as well.
Headset:
Storage
I added this section at the last minute when I realised you need storage when you’re editing video, and I completely forgot about it.
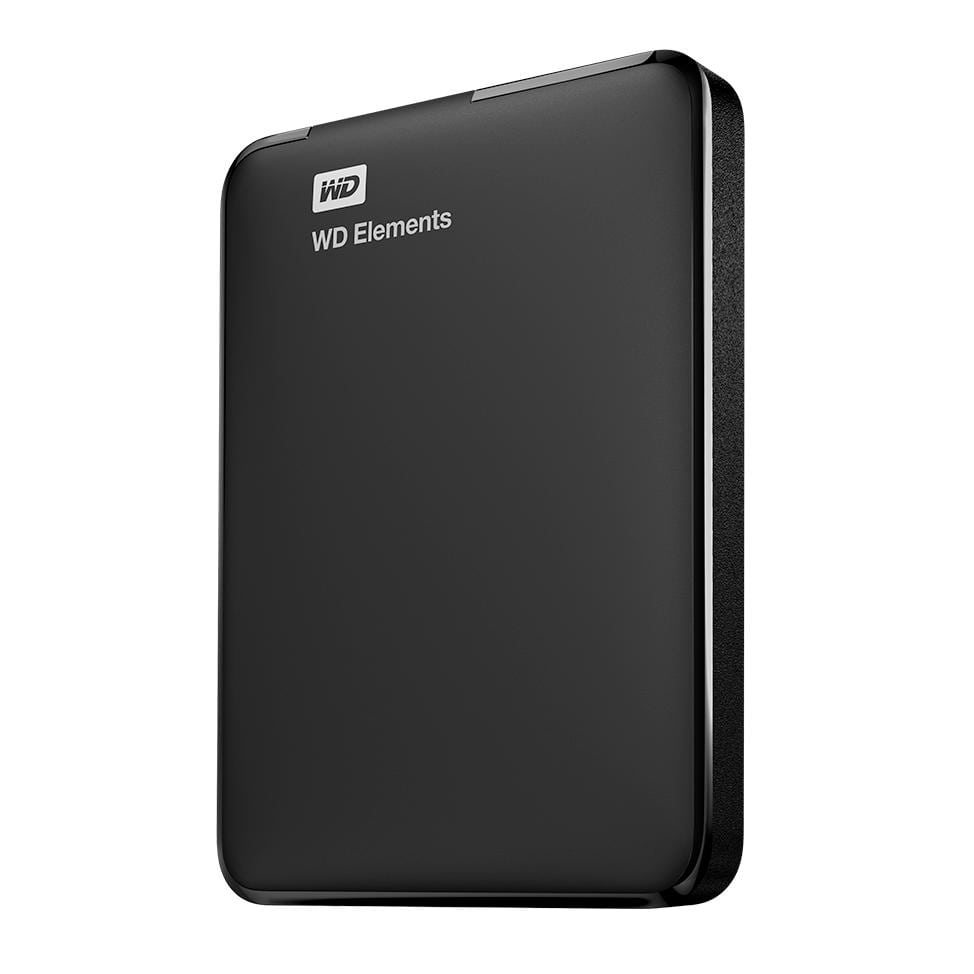
For the first week-or-so I was creating videos, I was using an old 2 TB WD Elements USB 3.0 external hard drive. These are convenient drives because they take power over USB, so there’s no need to power the drive from the wall.
But after plugging it in, I remembered why it was an ‘old drive’ because it’s not quite right, and every so often it pauses and makes a chirping sound.
The data has never had any issues, but it slows down my workflow and I don’t totally trust it. Not to say I wouldn’t buy another one – this one’s just buggered.
So now, after I record some videos directly to the laptop, I move them off to the NAS (network attached storage) until I’m ready to edit them. If you’re not familiar with what a NAS is, it’s basically a box of hard drives connected to your home network.
You can access it via a web browser to configure it, but essentially it’s a small Linux server which can usually do other server type things in addition to being a storage device.
I already had one of these – a Synology DS1812+ which has space for eight hard drives and is now a few years old. Synology’s latest version is the DS1815+ which has a few upgraded components, but does the same thing.
The Synology NAS lets you use any make/model/capacity configuration of hard drives, which is amazing, and when you outgrow the capacity, you can hot-swap a small one out for a new larger one and just keep going.
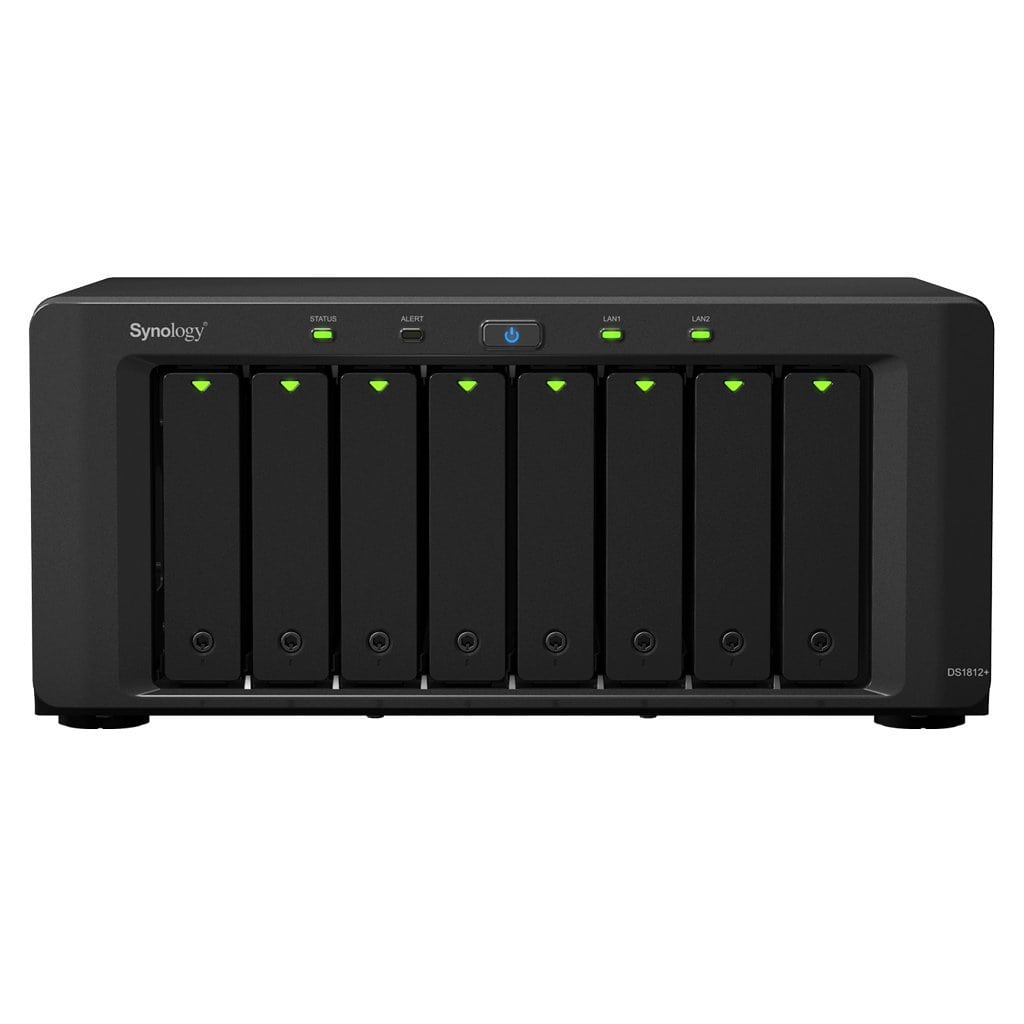
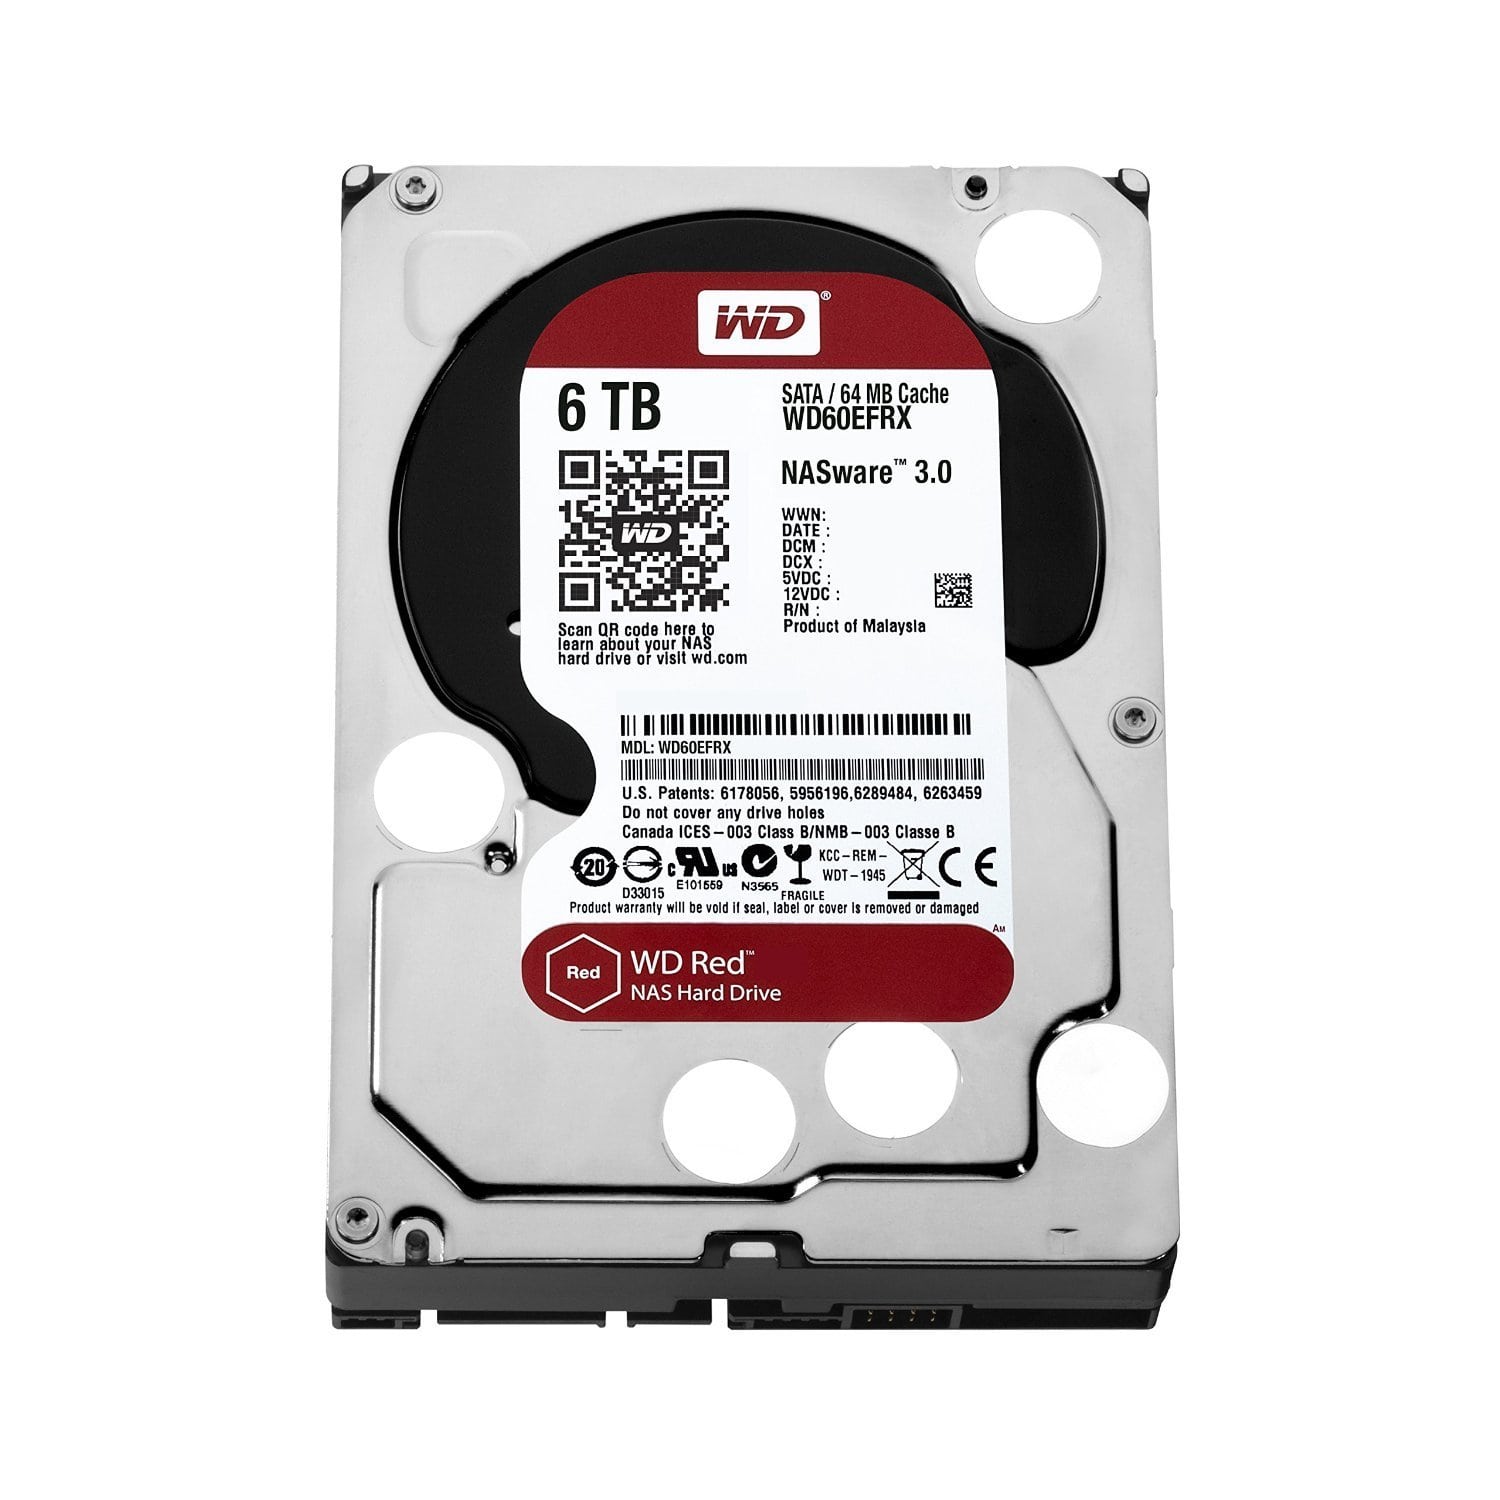
This was initially stuffed full of old hard drives that were lying around, but now it’s slowly being upgraded to larger WD Red drives which are rated for 24/7 use in NAS boxes. I highly recommend these drives if you have any size NAS – I’ve never had an issue with one, and now have quite a few of varying ages and capacities.
Storage:
Future hardware?
The reason I made this post is as a reference for anybody who wants to know what I’ve started out with when doing YouTube videos. You don’t have to go out and spend lots of money on the best kit.
However this isn’t my ideal hardware setup. I’ve already learned a lot in my first month making videos and I think I’ll work towards gradually replacing these components as I identify weak spots and areas that need improving.
The next thing I expect to buy will be a cardioid microphone for recording better commentaries. This will also remove the need for me to replace my headset as I can just use some headphones and the new microphone, and I already have a very capable and comfortable pair of Sennheiser HD515 headphones which are about 10 years old but don’t need replacing at all.
To speed up the editing of video, I’d also like to upgrade my Mac to a newer, faster MacBook Pro and sell this one. But I think I’ll wait for the next Intel chipset upgrade to Kaby Lake, and hope there’s an option for 32 GB RAM on the next model.
Transferring a lot of video around to our NAS and back over the network, I’m also keen to upgrade our WiFi, and I’ve already looked into this. I’ll keep this a surprise for now, but we’ll move to an enterprise grade mesh network and I’ll do an unboxing and review of that come the time.
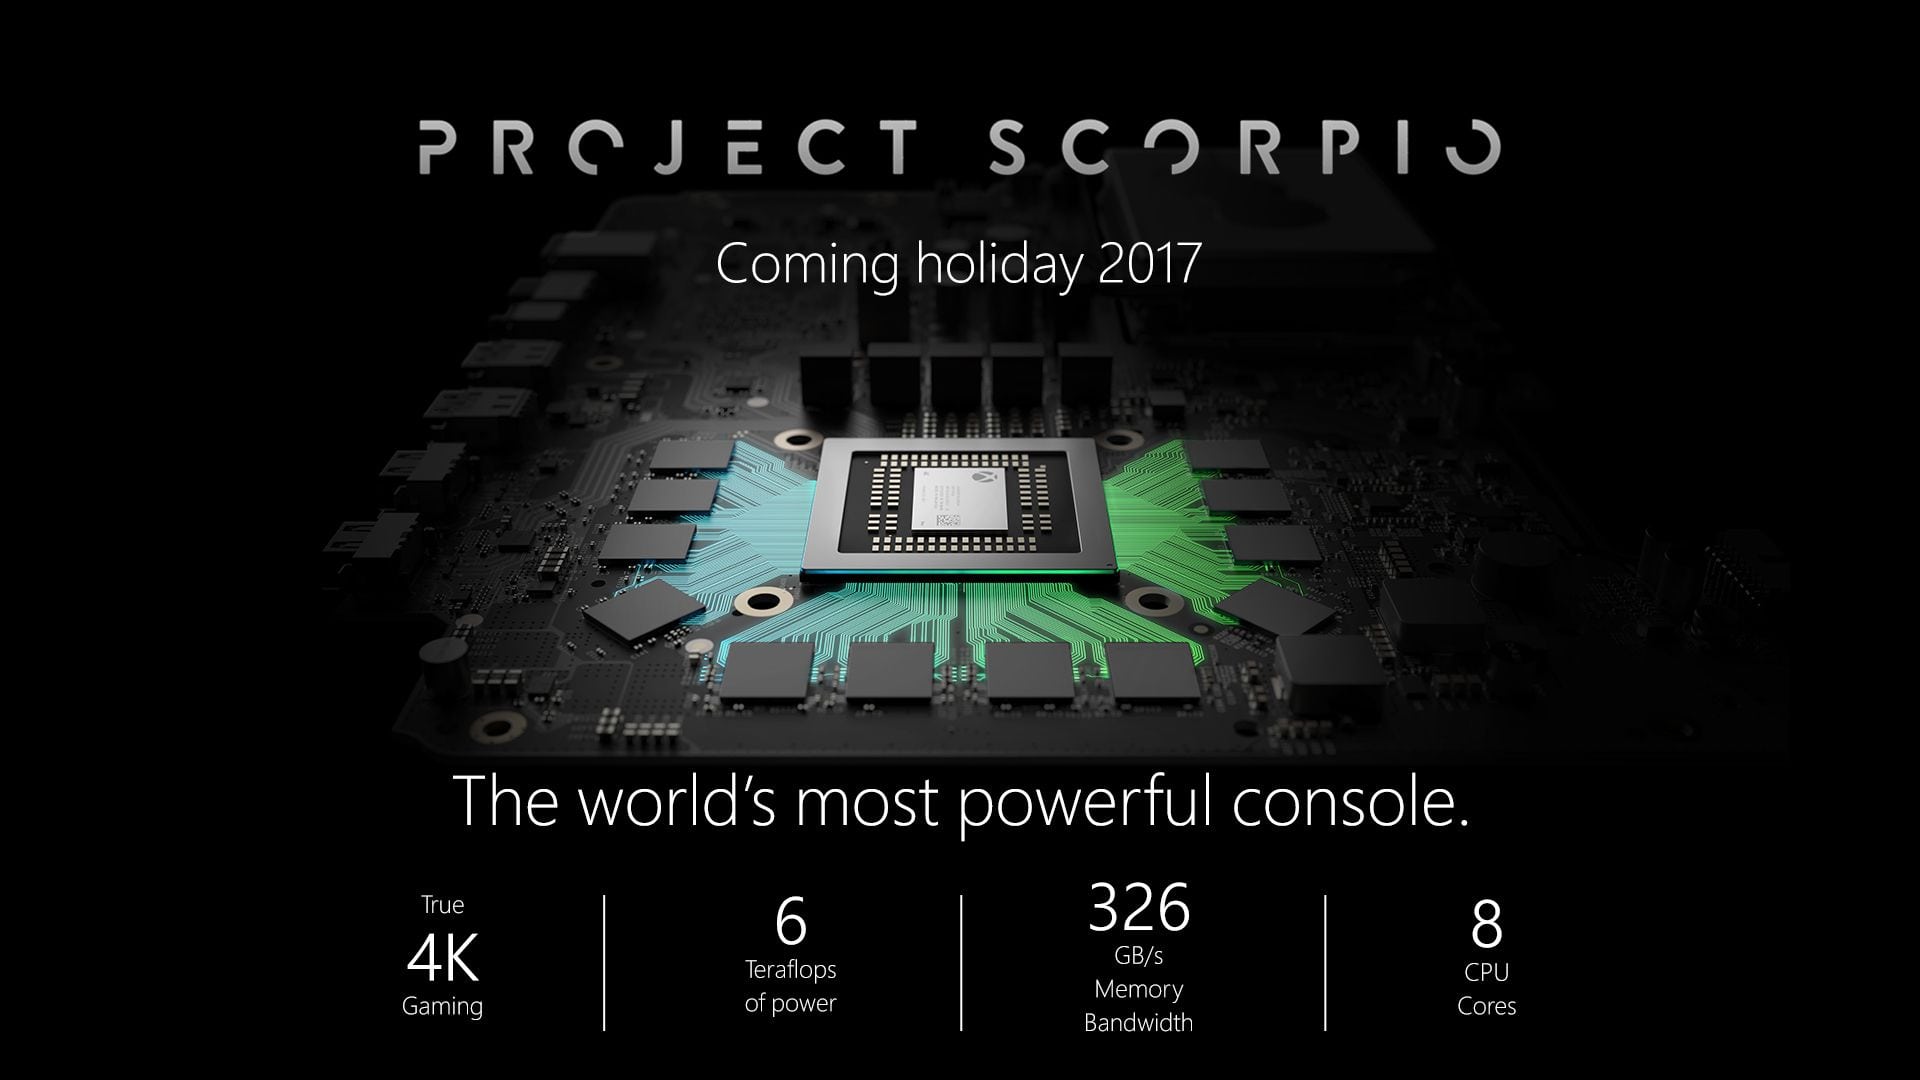
Of course I’ve also already mentioned my interest in Project Scorpio when that gets released, and I’ll need to also get a new Elgato to support the 4K input to that, but I don’t believe that device exists yet.
4K video is also a perfect reason why I’ll require the upgraded laptop and WiFi mentioned above.
Finally I may get around to investing in a better video camera for unboxing.
I expect when I do an updated YouTube hardware post in 2018, this list will be quite different.
Tips
If you’ve gleaned any tips from reading about what I’m using and how I do things, please consider sharing this post (there are buttons below).
I’d also really like to hear what you guys use and how you do things, and if you have any tips for me please leave constructive comments below and we can share some ideas! 😄
What the * means above
If a link has an * by it, that means it is an affiliated link and therefore it helps this website earn money, as it is tracked to us. If you go through it, it can sometimes result in a payment or benefit to the site. It’s worth noting this means the third party used may be named on any credit agreements.
You shouldn’t notice any difference and the link will never negatively impact the product. Plus the things we write are NEVER impacted by these links. If it isn’t possible to get an affiliate link for a mentioned product, website or service, it is still included in exactly the same way, just with a non-paying link.
Duplicate links of the * links above for the sake of transparency, but this version doesn’t help LightwaveAl.com: Amazon.com (US), Amazon.co.uk (UK).
